Why This Project?
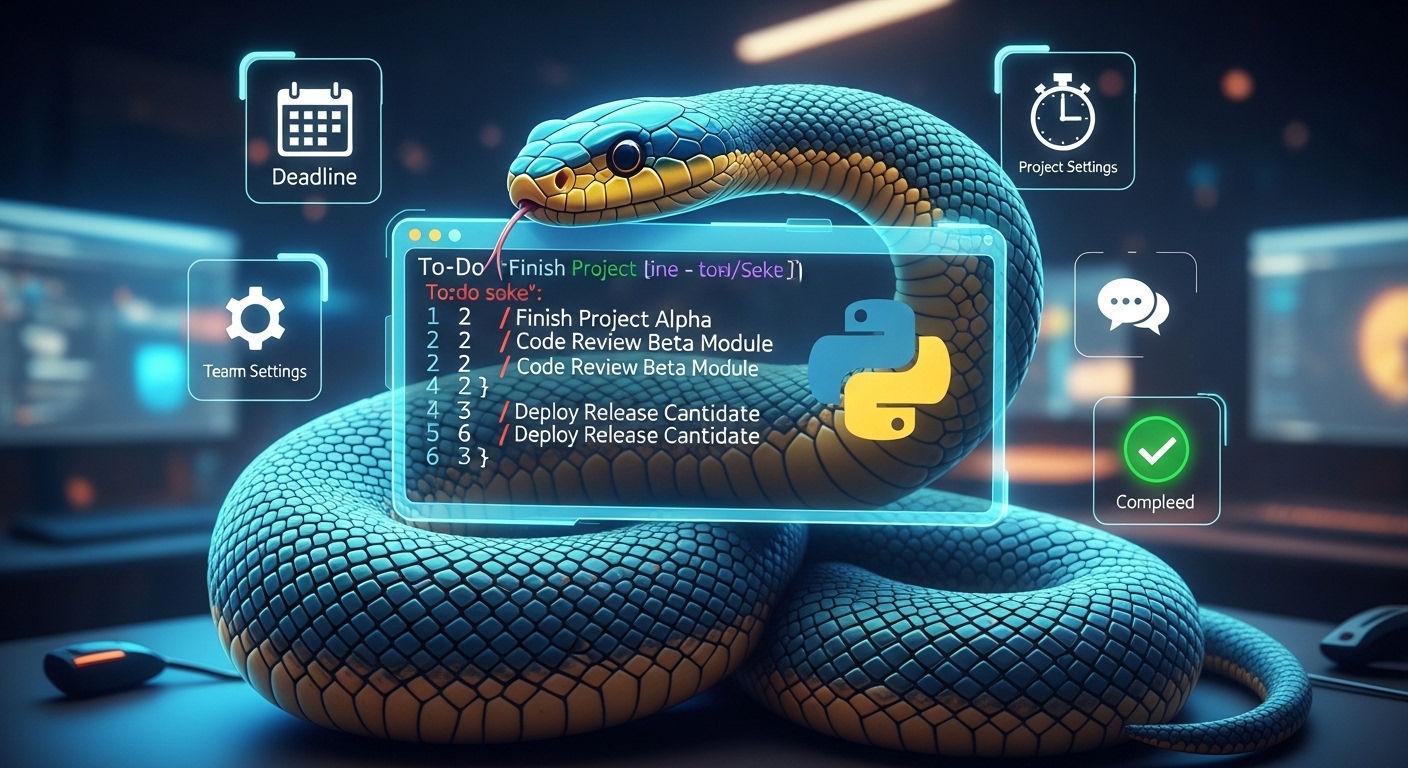
One of the best ways to learn coding is by building things that solve actual problems. In this tutorial, I’ll show you how I created a simple command-line to-do list app using Python.
This project helped me strengthen my understanding of:
- File I/O (input and output)
- Python data structures like lists and dictionaries
- Argument parsing via the command-line
- Realistic Create, Read, Update, Delete (CRUD) functionality
It’s beginner-friendly and entirely practical. By the end, you’ll have your own app and understand how each part works—and you’ll be ready to build on it, or even turn it into a GUI (graphical user interface) later.
You can find the full source code here:
👉 View it on GitHub
📂 Project Files You’ll Need
Create a folder called todo_app and inside it, add:
todo.py— The Python file containing your logictasks.json— The data file to store your tasks
Inside tasks.json, paste this to start:
jsonCopyEdit []
🧱 Step 1: Set Up File Reading and Saving
In todo.py:
pythonCopyEditimport json
import os

TASKS_FILE = "tasks.json"

def load_tasks():
    if not os.path.exists(TASKS_FILE):
        return []
    with open(TASKS_FILE, 'r') as f:
        return json.load(f)

def save_tasks(tasks):
    with open(TASKS_FILE, 'w') as f:
        json.dump(tasks, f, indent=4)
This sets up basic load and save functionality for your task list using JSON.
⚙️ Step 2: Add Command-Line Interface (CLI) Support
Now add this below the previous code:
pythonCopyEdit import argparse

parser = argparse.ArgumentParser(description="Simple CLI To-Do App")
parser.add_argument("command", choices=["add", "list", "remove", "done"], help="Command to run")
parser.add_argument("--task", help="Task description")
parser.add_argument("--index", type=int, help="Task index to remove or mark done")

args = parser.parse_args()
This allows the app to accept commands from your terminal like add, list, done, and remove.
🔁 Step 3: Handle Commands
Below your parser setup, add:
pythonCopyEdit tasks = load_tasks()

if args.command == "add" and args.task:
    tasks.append({"task": args.task, "done": False})
    save_tasks(tasks)
    print(f"Added task: {args.task}")

elif args.command == "list":
    if not tasks:
        print("No tasks found.")
    for i, task in enumerate(tasks):
        status = "✅" if task["done"] else "❌"
        print(f"{i}. {task['task']} [{status}]")

elif args.command == "remove" and args.index is not None:
    if 0 <= args.index < len(tasks):
        removed = tasks.pop(args.index)
        save_tasks(tasks)
        print(f"Removed task: {removed['task']}")
    else:
        print("Invalid index.")

elif args.command == "done" and args.index is not None:
    if 0 <= args.index < len(tasks):
        tasks[args.index]["done"] = True
        save_tasks(tasks)
        print(f"Marked task as done: {tasks[args.index]['task']}")
    else:
        print("Invalid index.")
else:
    print("Invalid usage. Use --help for options.")
💻 Step 4: Running the App
Make sure you’re inside the project folder in your terminal:
bashCopyEdit cd path/to/todo_app
Then run commands like:
bashCopyEdit python3 todo.py add --task "Learn Python"
python3 todo.py list
python3 todo.py done --index 0
python3 todo.py remove --index 0
All tasks are saved in tasks.json.
📌 Bonus: Push It to GitHub
After creating your repo on GitHub:
bashCopyEdit git init
git add .
git commit -m "Initial commit"
git branch -M main
git remote add origin https://github.com/TitusGitari/todo-cli-python.git
git push -u origin main
Now your work is live and sharable.
🔚 Final Thoughts
This is more than a toy app. It reflects how real-world command-line tools work—think server management scripts, DevOps automations, and IT workflows.
Project-based learning like this is how I’m building both competence and confidence in Python and software development.
Follow me on GitHub or stick around the Tutorials section at titusgitari.com to follow along as I build more projects.
